The Apple cloud storage system, iCloud, includes a free web-based email account. This account can be accessed from any Mac, Windows, or iOS device using the iCloud website or the Mail app. Two-factor authentication protects your iCloud Mail account from theft, hacking, and other misuses by unauthorized parties. Learn how to secure your account with this extra layer of defense.
Two-factor authentication adds a barrier between whoever's logging in and the account by requiring authentication in two ways, such as a computer and phone. This method is more secure than a password alone.
Turn on Two-Factor Authentication for iCloud Mail
Here's how to enable two-factor authentication for your iCloud Mail account and other programs associated with your Apple ID from a Mac, iPhone, or the Apple ID website.
You must set up an @icloud.com email address before you can use Mail on iCloud.com and set up two-factor authentication.
Set up Two-Factor Authentication for iCloud Mail Using a Mac
-
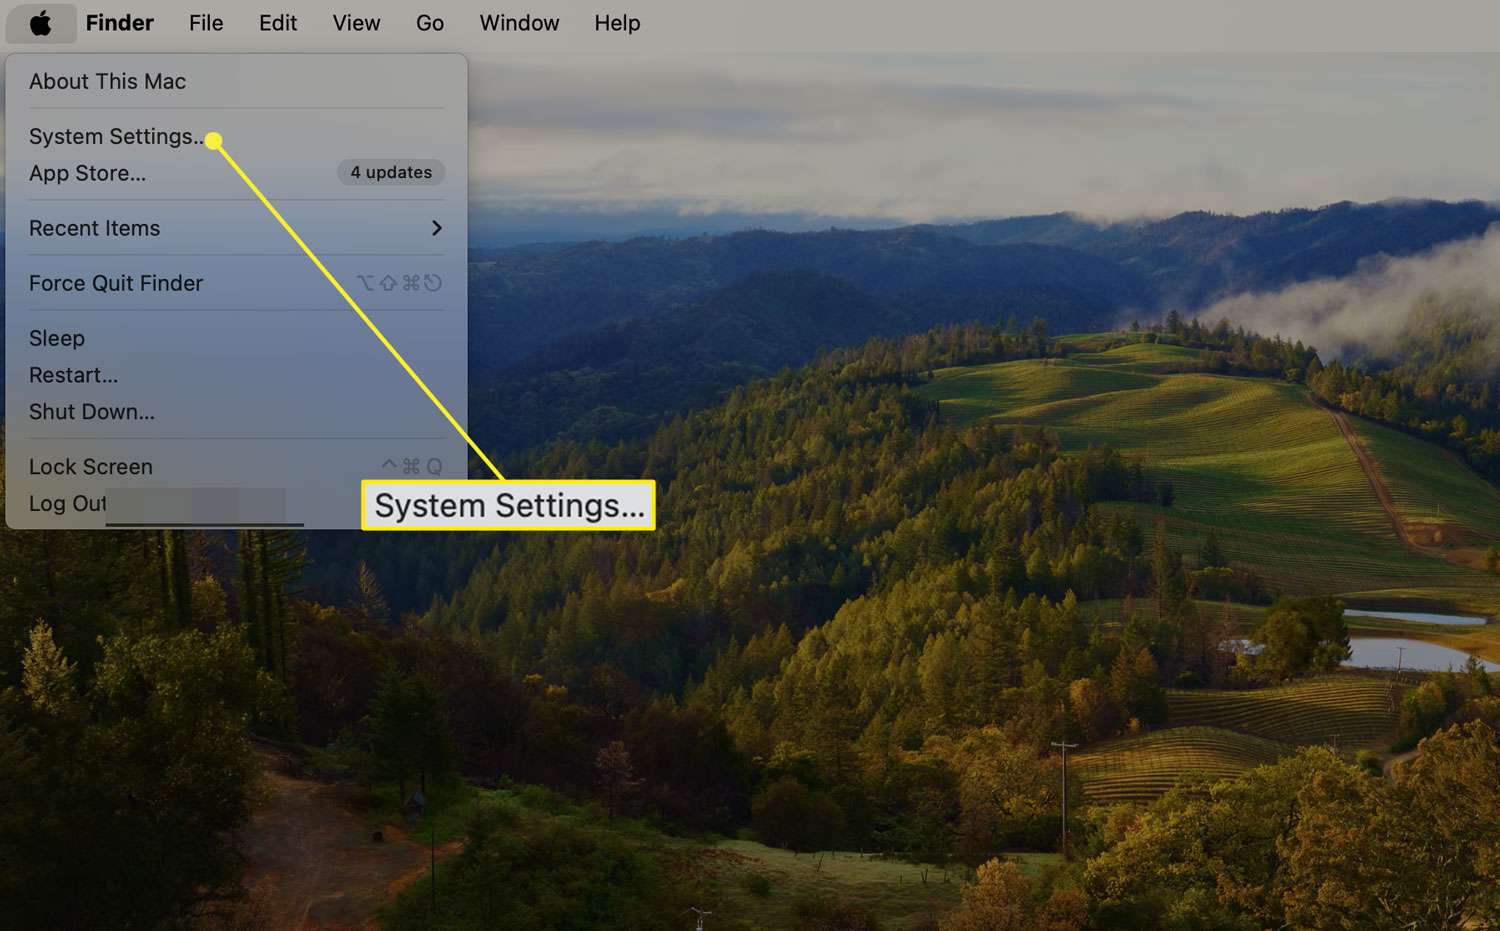
Go to the Apple menu and select System Settings.
This option might be labeled System Preferences.
-
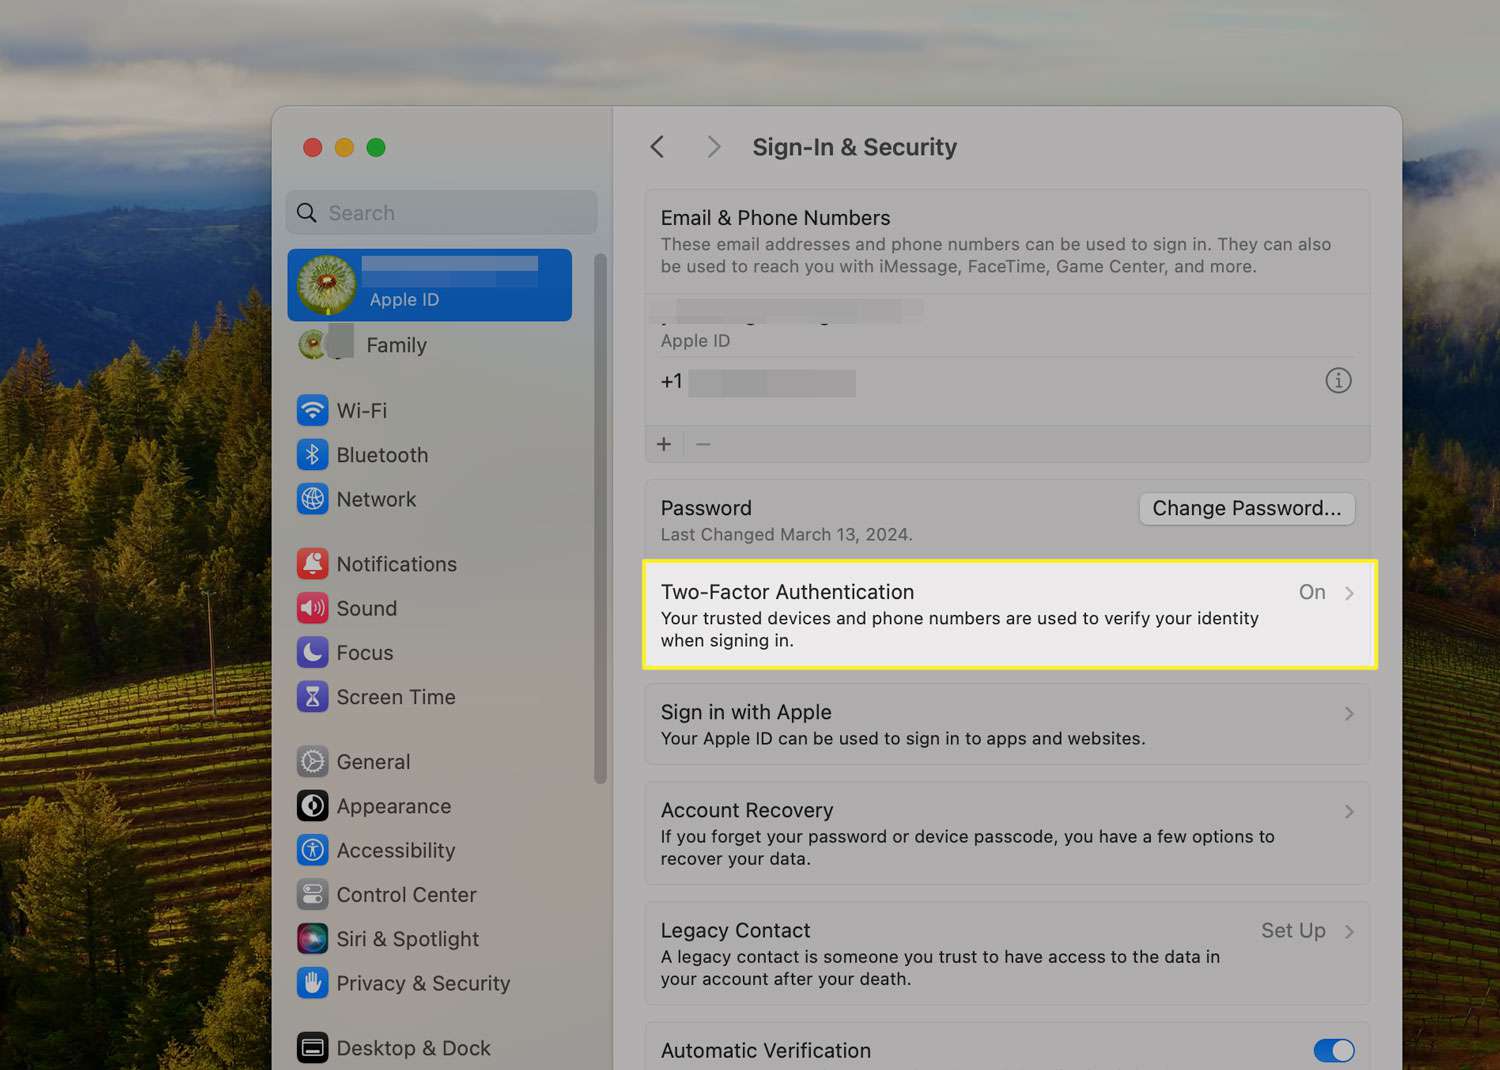
Select Apple ID.
-
Click Sign-In & Security.
In some macOS versions, you may see this option labeled Password & Security.

-
Select Turn on beside Two-Factor Authentication.
Add your Apple ID email and password if prompted.
-
Answer security questions and click Continue > Verify when you're done.
-
Enter the phone number you want to use for verification codes and select Continue again.
-
On your Mac, enter the code you receive on your trusted phone.
Set up Two-Factor Authentication for iCloud Mail Using an iOS Device
You can also set up two-factor authentication for your Apple ID using an iPhone.
-
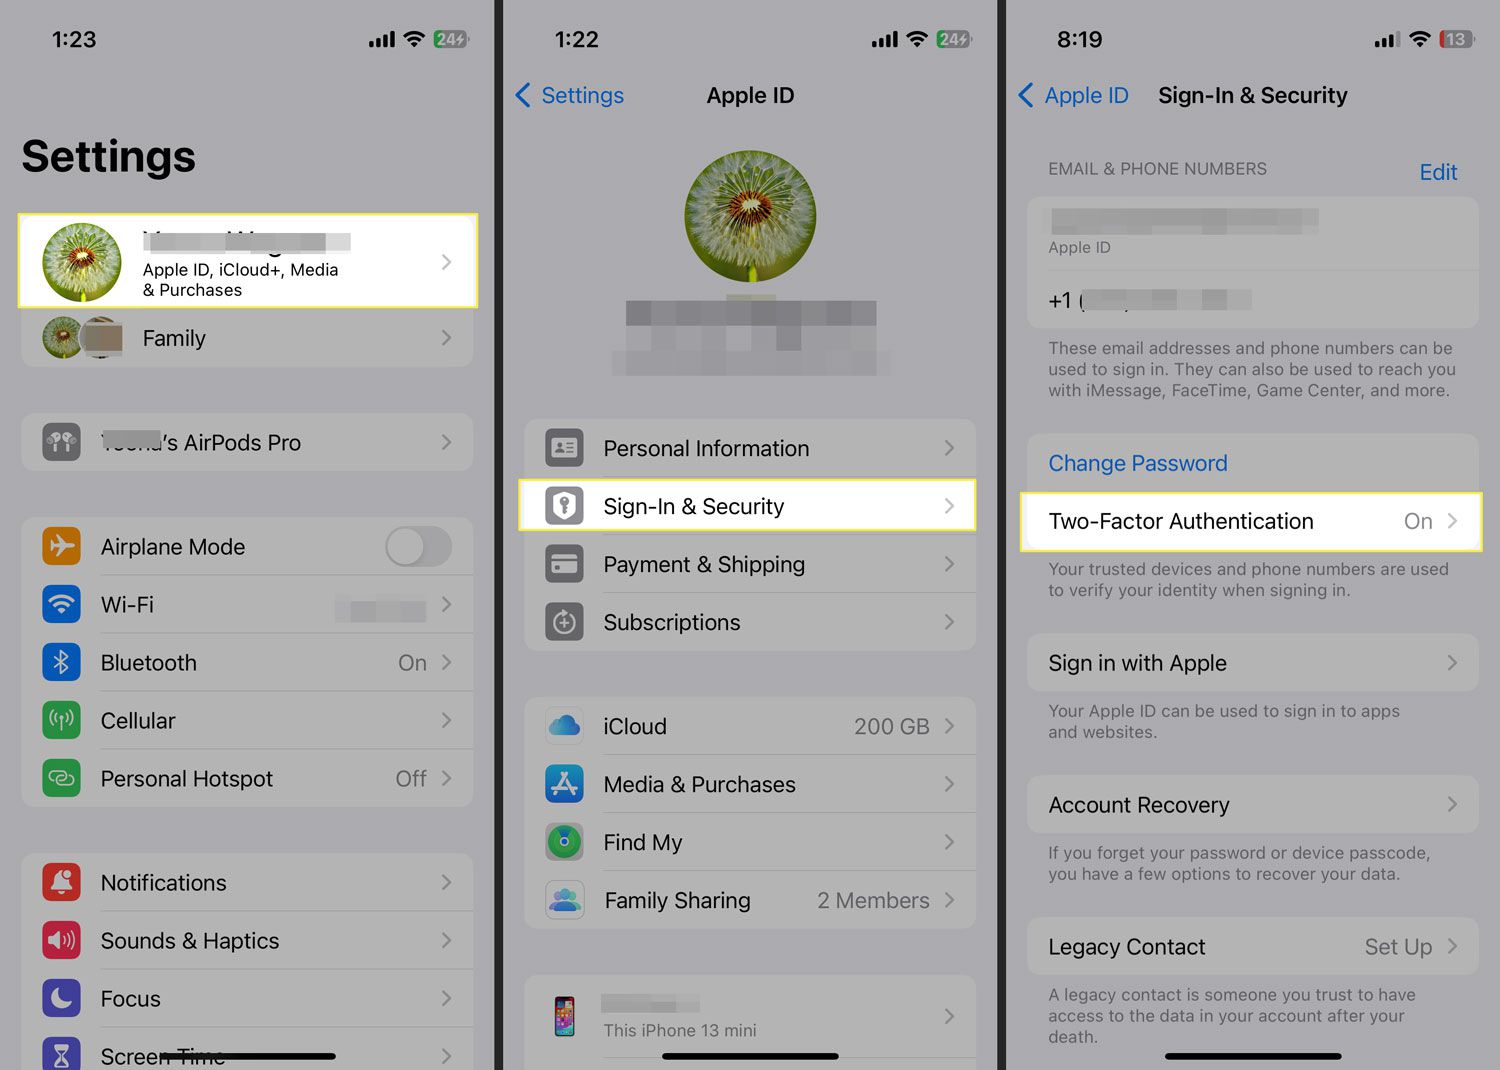
Go to Settings > Apple ID > Sign-In & Security.
In older iOS versions, tap Apple ID > Password & Security.
-
Tap Turn on Two-Factor Authentication > Continue.
-
Enter the phone numbers you want to use as Trusted Phone Numbers. Choose to receive the two-factor authentication codes by text message or automated phone call.
-
When you tap Next, Apple sends a verification code to the phone number you provided. Enter the verification code to verify your phone number and turn on two-factor authentication.
Turn on Two-Factor Authentication Using a Web Browser
If you don't have access to a Mac or iOS device, use a browser to turn on two-factor authentication.
-
In a browser, go to the Apple ID page.

-
Sign in and scroll down to Sign-In & Security > Account Security.
-
Follow the prompts to create security questions and trusted phone numbers.
How to Create Secure App-Specific Passwords
Another layer of protection you can add is to create app-specific passwords for third-party apps you use with your Apple ID.
Here's how to generate secure app-specific passwords.
-
Make sure two-factor authentication is enabled for your Apple account.
-
In a browser, go to Manage Your Apple ID and click Sign in to enter your Apple ID and password.
-
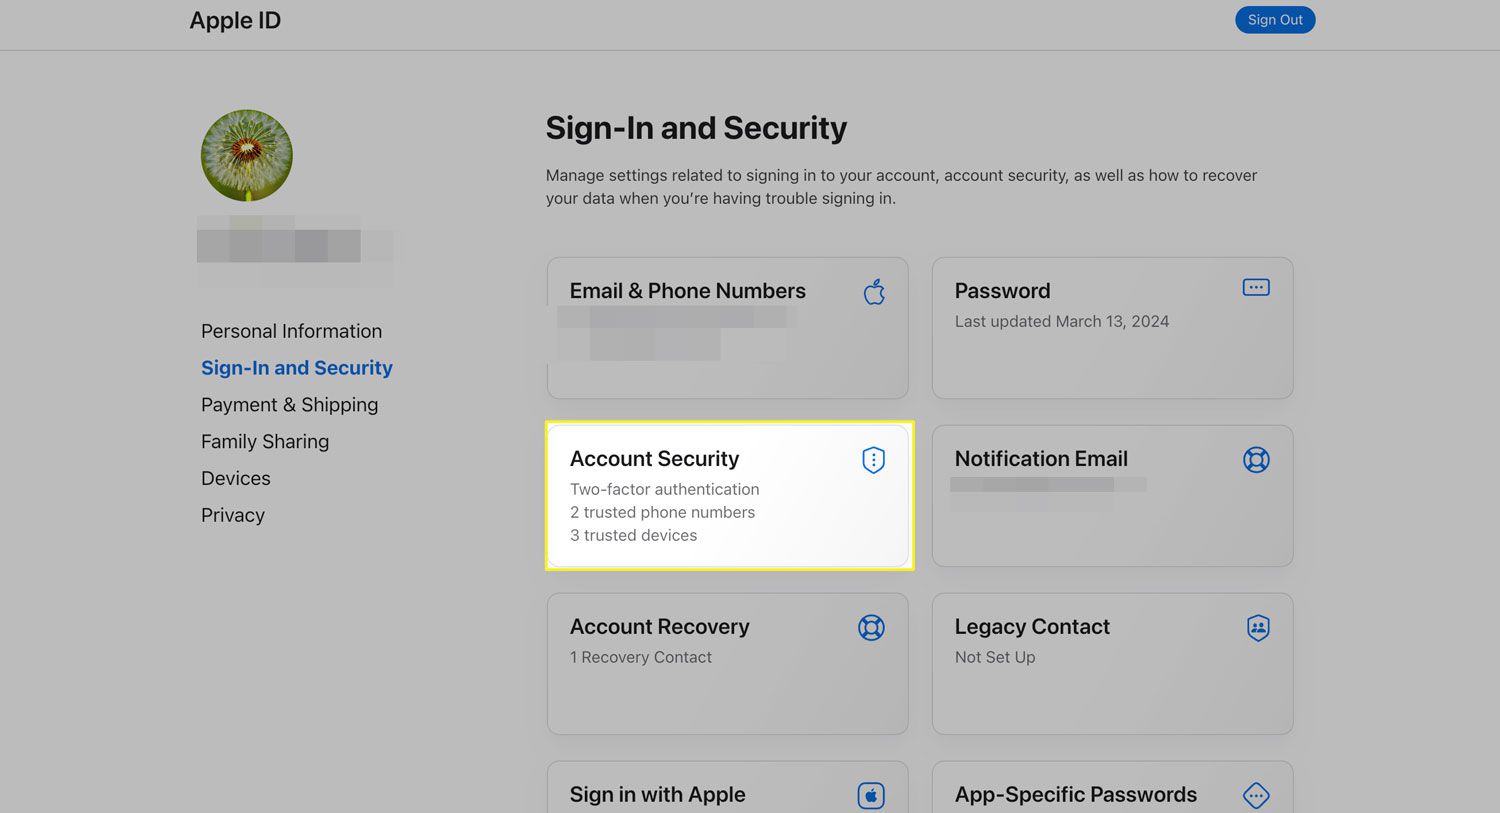
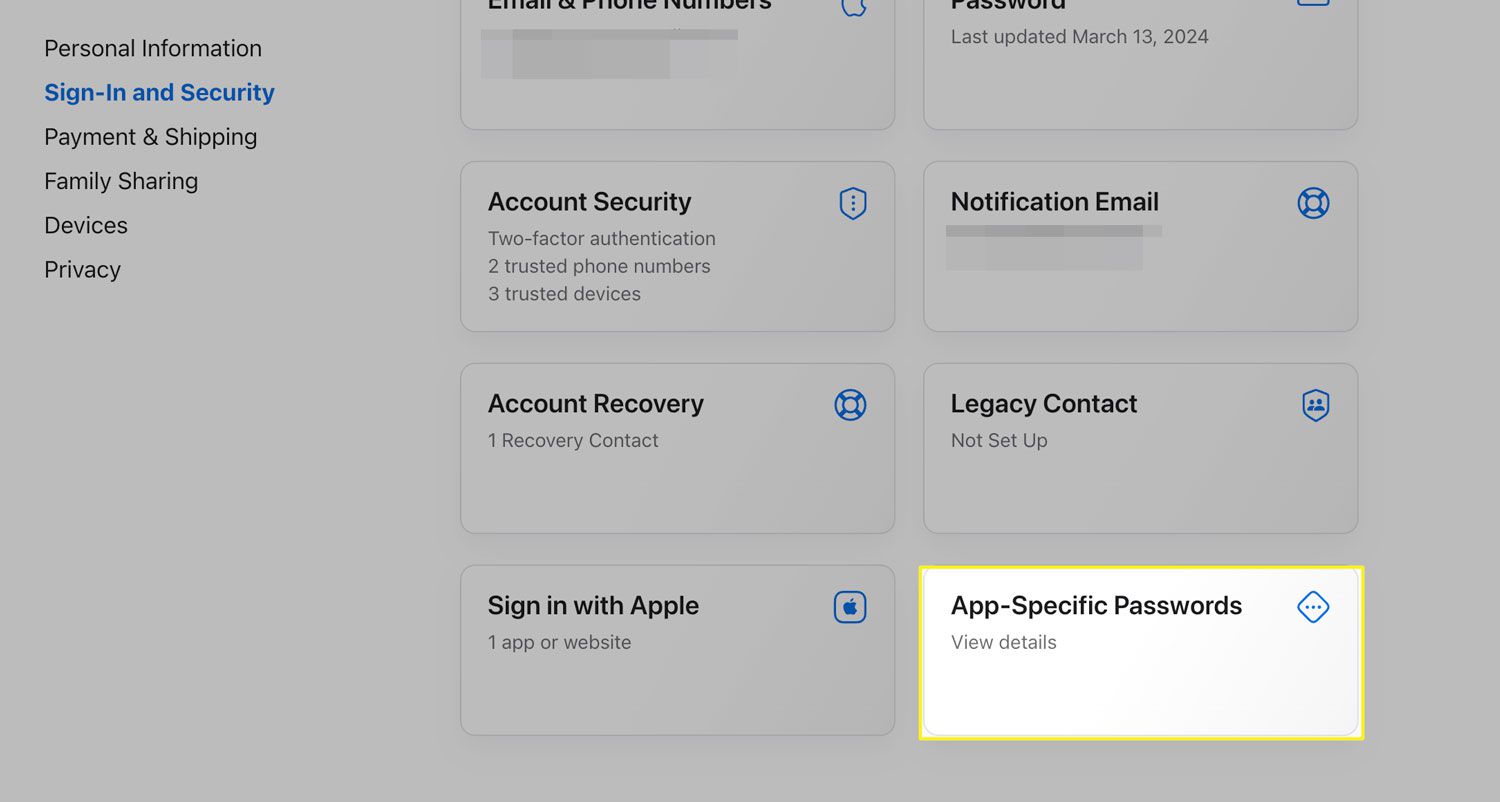
From Sign-In & Security, select App-specific Passwords.
-
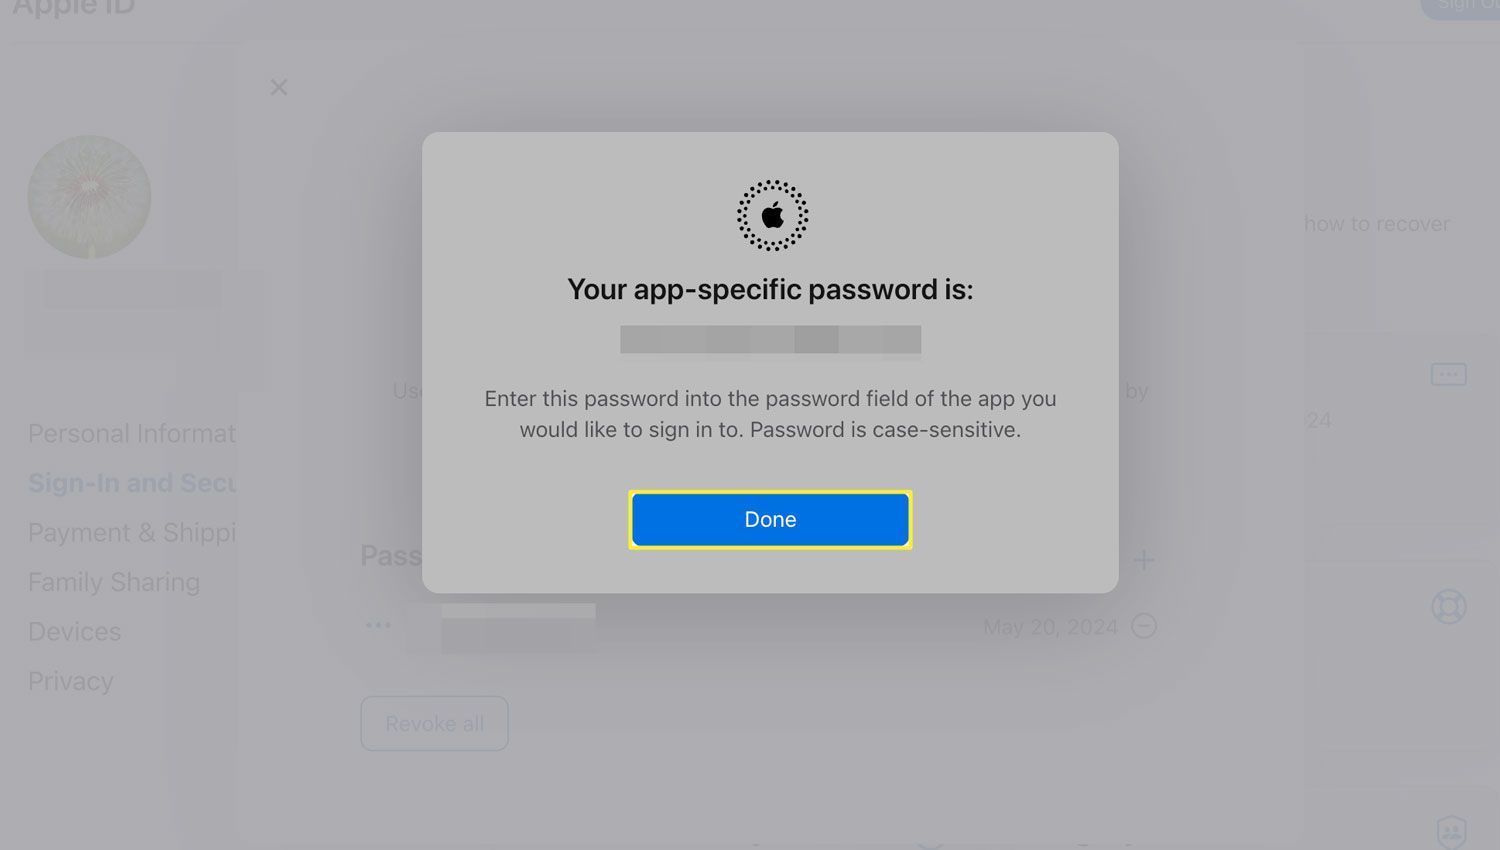
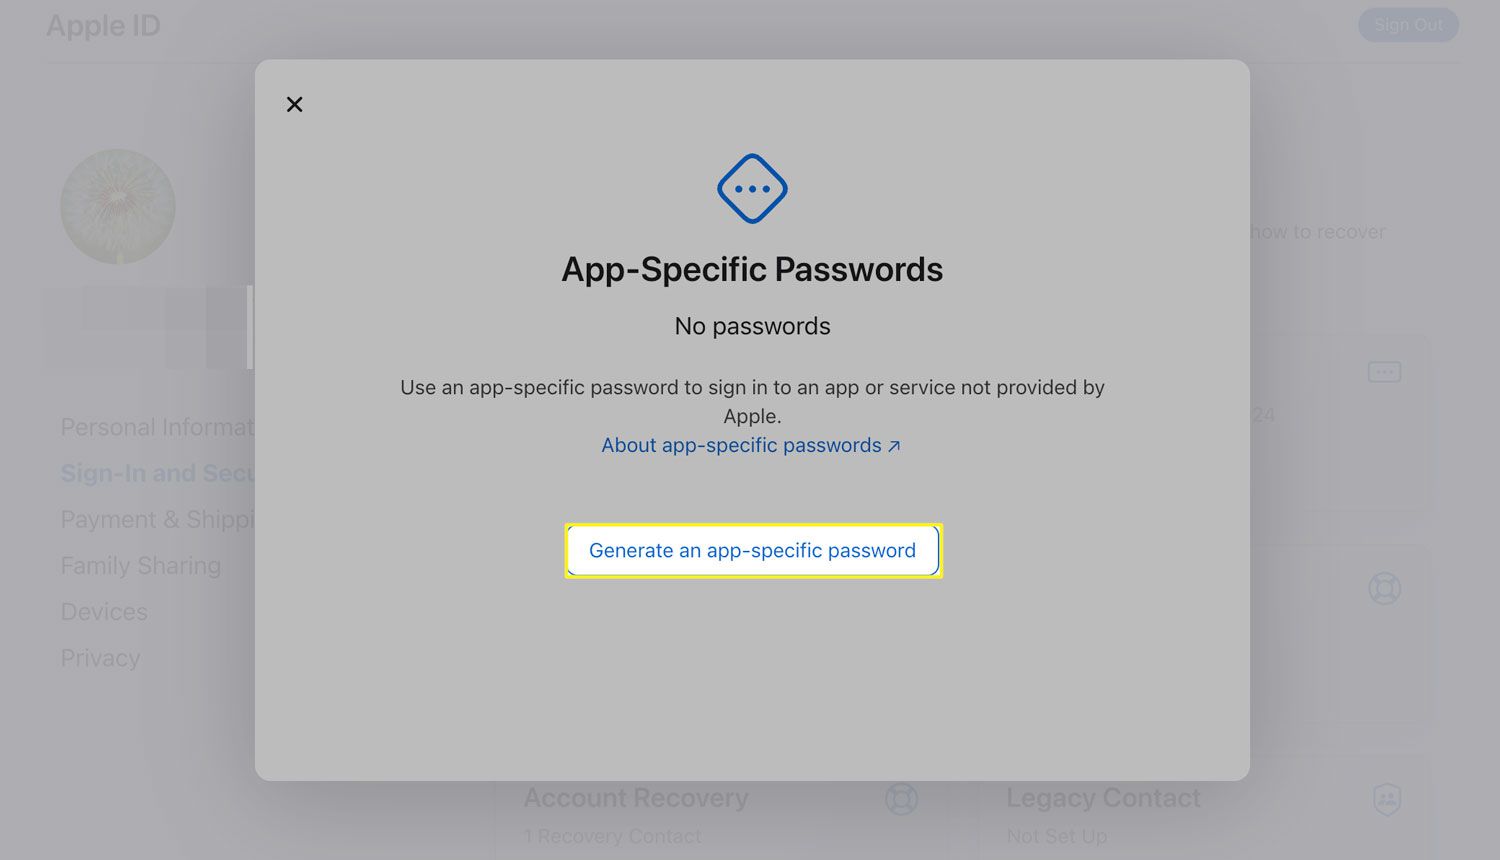
Select Generate an app-specific password.
-
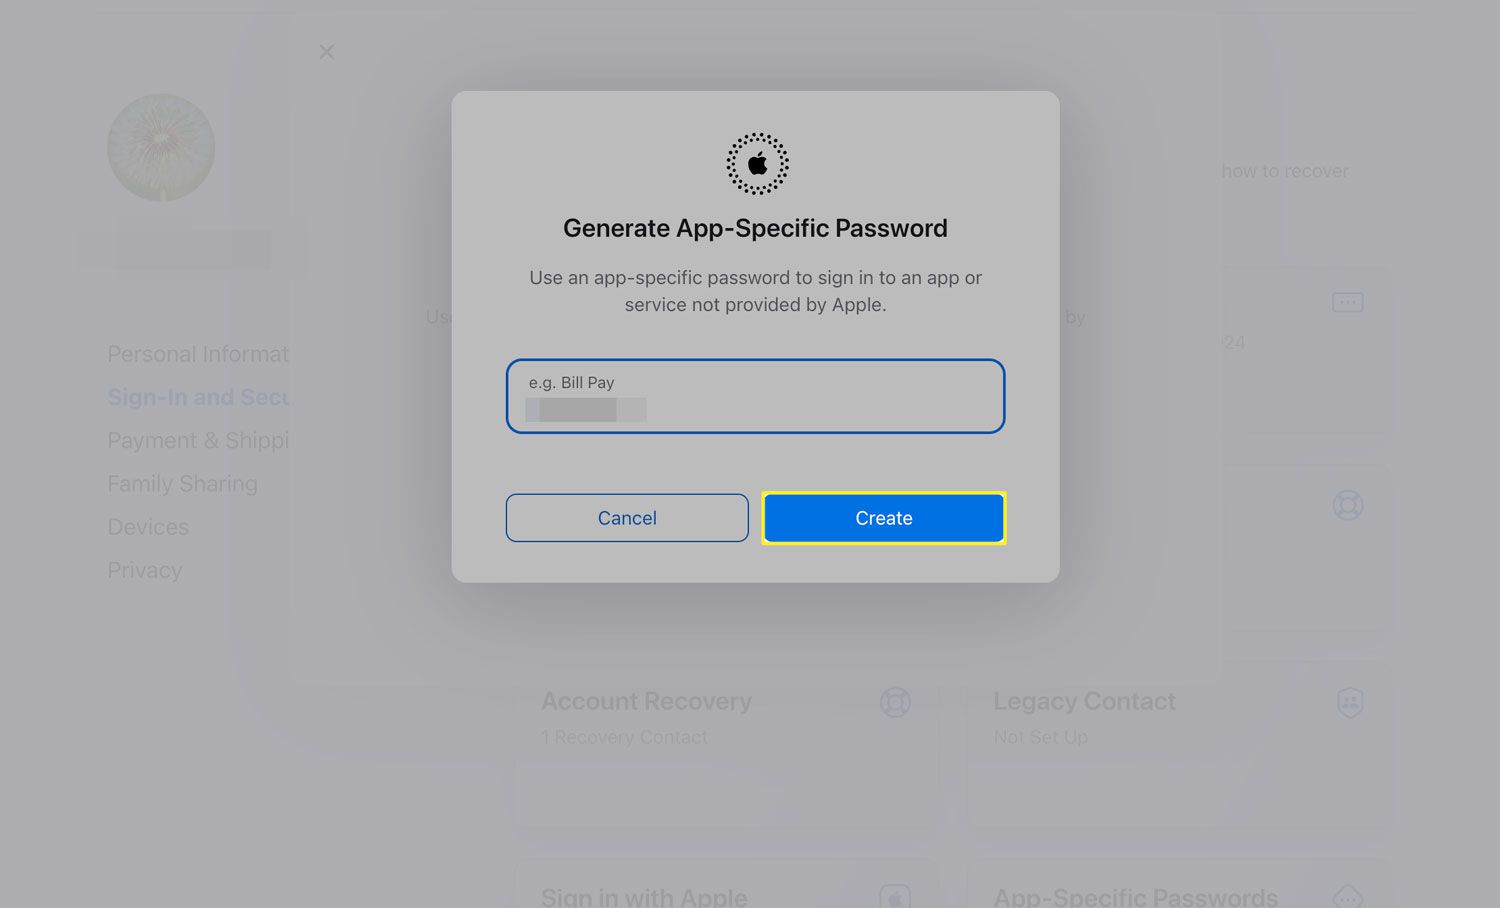
Enter a label for the program or service for which you want to create the password and select Create.
-
Re-enter your Apple ID and password.
-
Click Done after you grab the the password generated for you and paste it directly in to the app you want to use it with.